
November 9, 2022 By Nick Viggo
I wanted to at least make this all one part again.
Now that all the areas we will be welding are cleaned up and stripped down to the bare metal. Wait, you don’t remember getting down to bare metal? Yeah, I messed up and didn’t take some photos of the nice clean Uni-rails. Sorry, next time.
I did however get some photos of it after it was painted with weldable primer. The uni-rail and the insides of all the stiffeners are coated with a weldable primer so it will help prevent rust between the two pieces of metal.


Inside of the stiffing plates get painted as well.
So begins the fitment of the plates. I started in the front and worked my way toward the back. I bought the front and mid plates from RuffStuff Specialties. I was recently made aware that they just released a rear stiffener. Unfortunately, when I bought these parts it was not available. For the rear, we used the Dirtbound product. Honestly, I’m not really sure how badly the rear needs it. My thought was I didn’t want to stiffen the front 2 thirds of the uni-rail and not the last third. I’m thinking that the last third could be a little flexy with it supporting the rear springs I felt like if I didn’t add support stress cracks just past the end of the last stiffening plate may develop. It needs to be allowed to flex in a controlled fashion and spread over a lot of areas. (original) or not allowed to flex at all. (after fitting the stiffener plates) The last thing I wanted to do was create a high-stress point at the end of the mid-plate where the remainder of the uni-rail is unsupported.

I used a few clamps to hold everything in place. Sometimes I needed many clamps to help suck the plate into the uni-rail. You really want to be sure that the plate doesn’t have big gaps between it and the uni-rail. If it does it will be increasingly hard to weld and likely less effective in lending strength to the uni-rail.
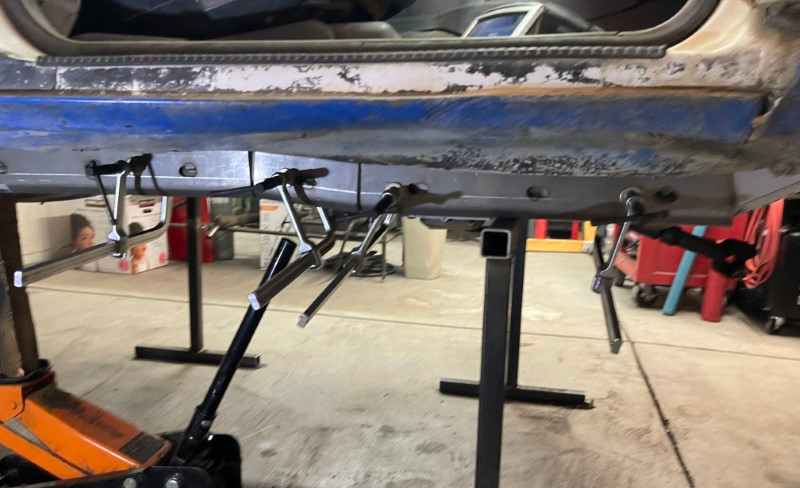
The mid plate requires the floor jack to help push the plate up to the uni-rail. You can see how it jog’s up/down just off the center of the picture.
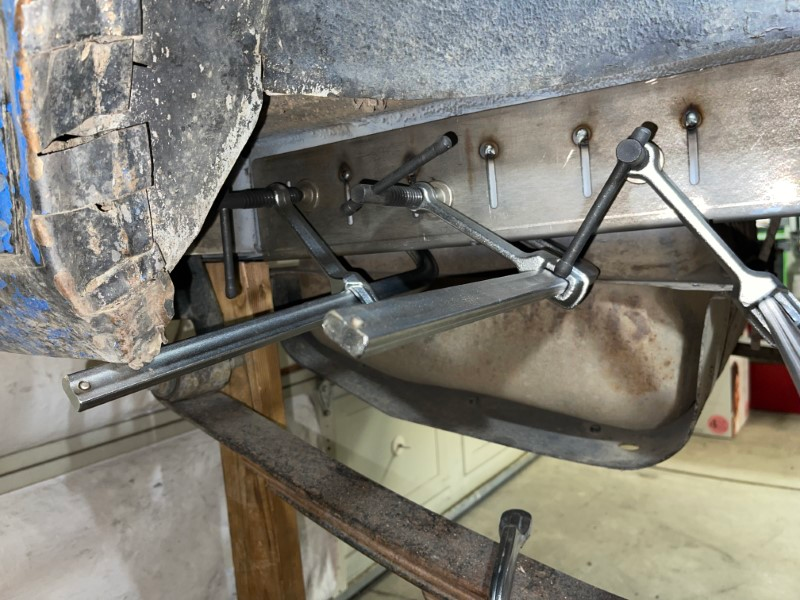
These were some of the clamps I needed for the rear section. Note the 2×4 was again used to push up to mate the plate to the bottom of the uni-rail.
Now that everything is tacked into place the welding begins. It’s a lot of welding.
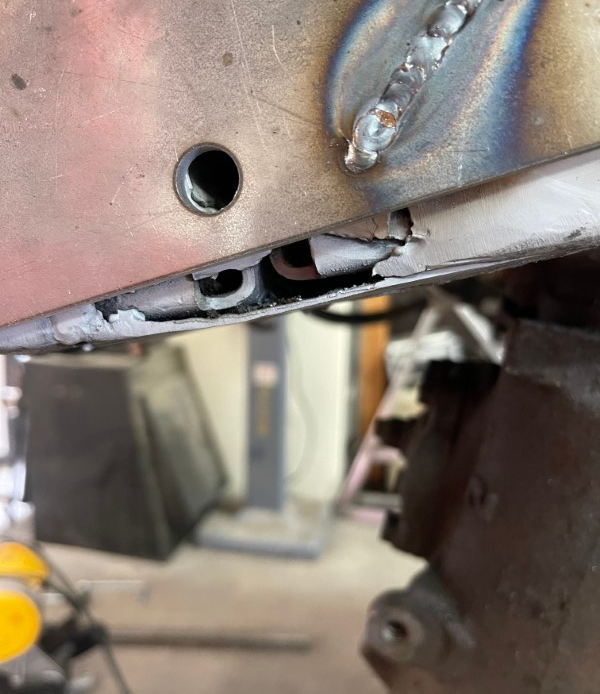
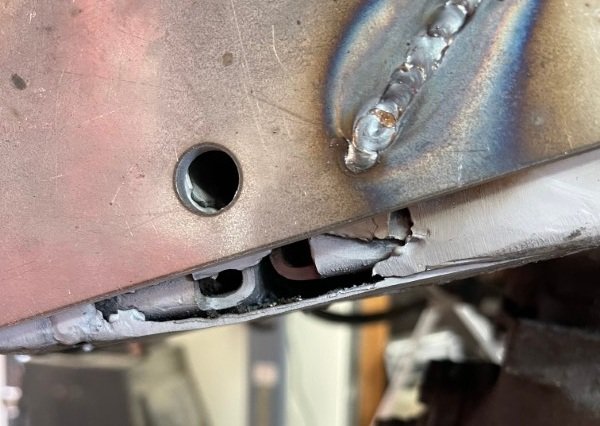
I decided to fill this hole to at least make it all one structure and much better looking. Also repaired the split along the bottom. That will be getting coved up by the new steering brace. Just adding the stiffing plate has made this so much stronger. We are adding a brace that will make it bullet proof!!


