October 1, 2022 By Nick Viggo
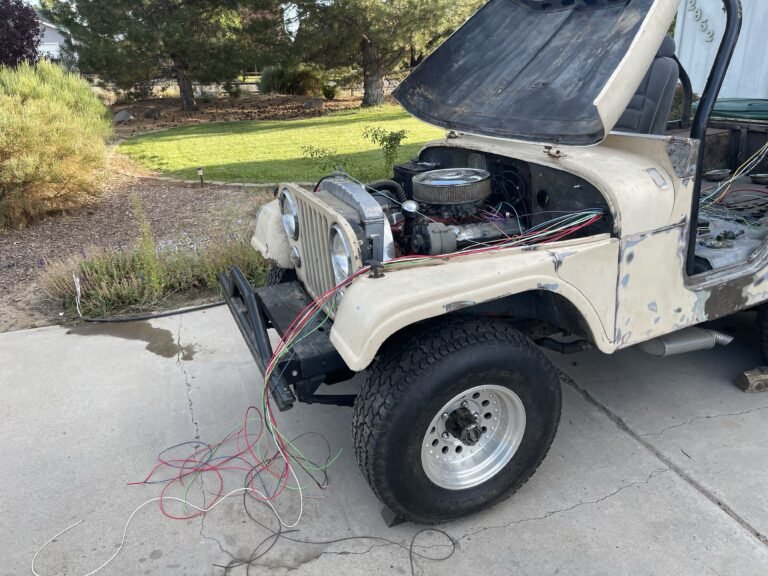
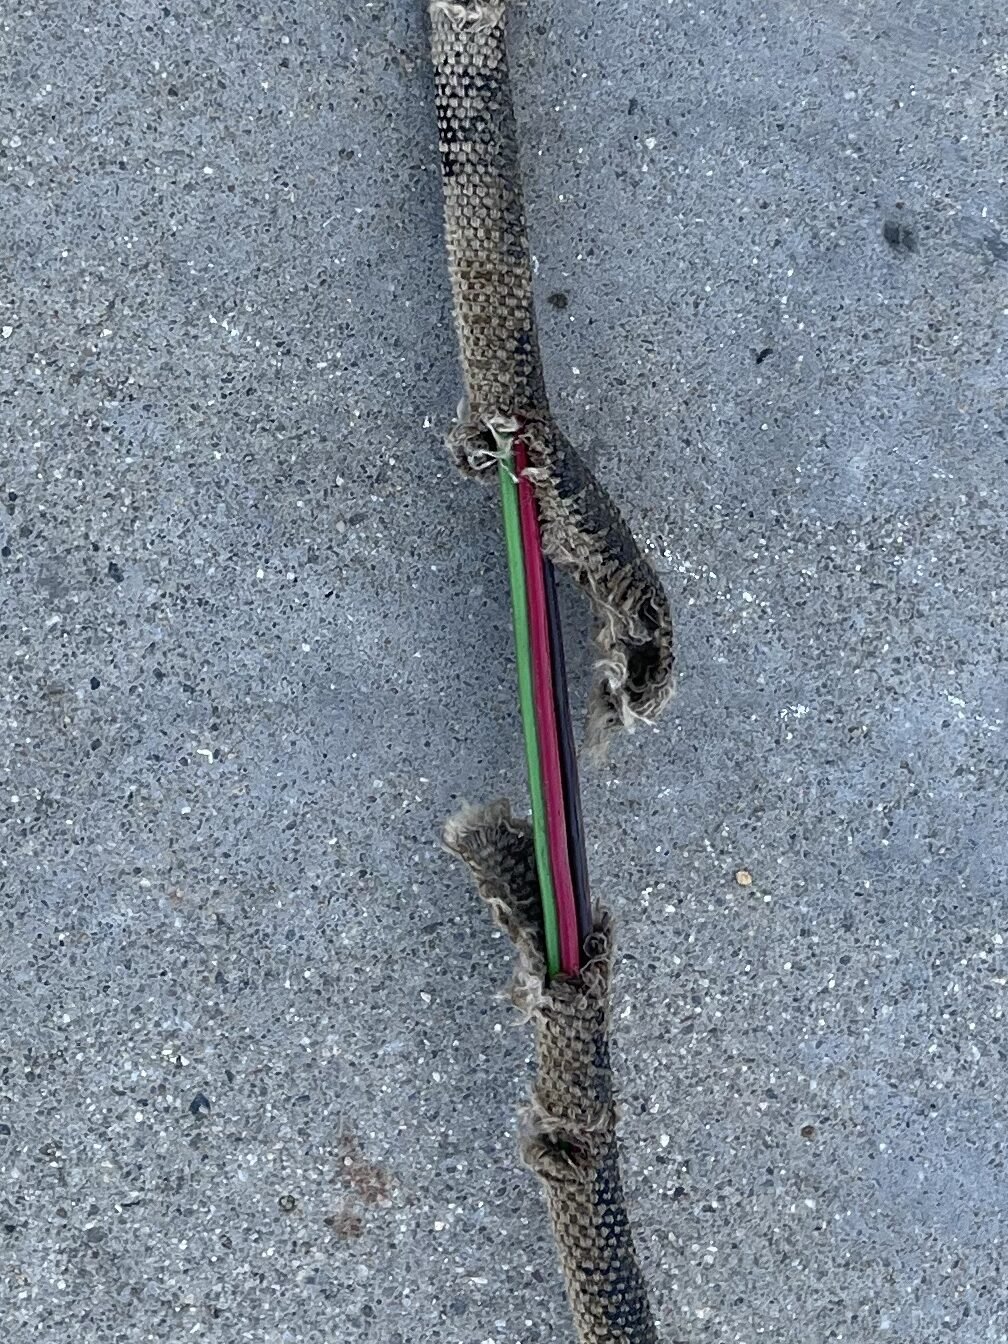
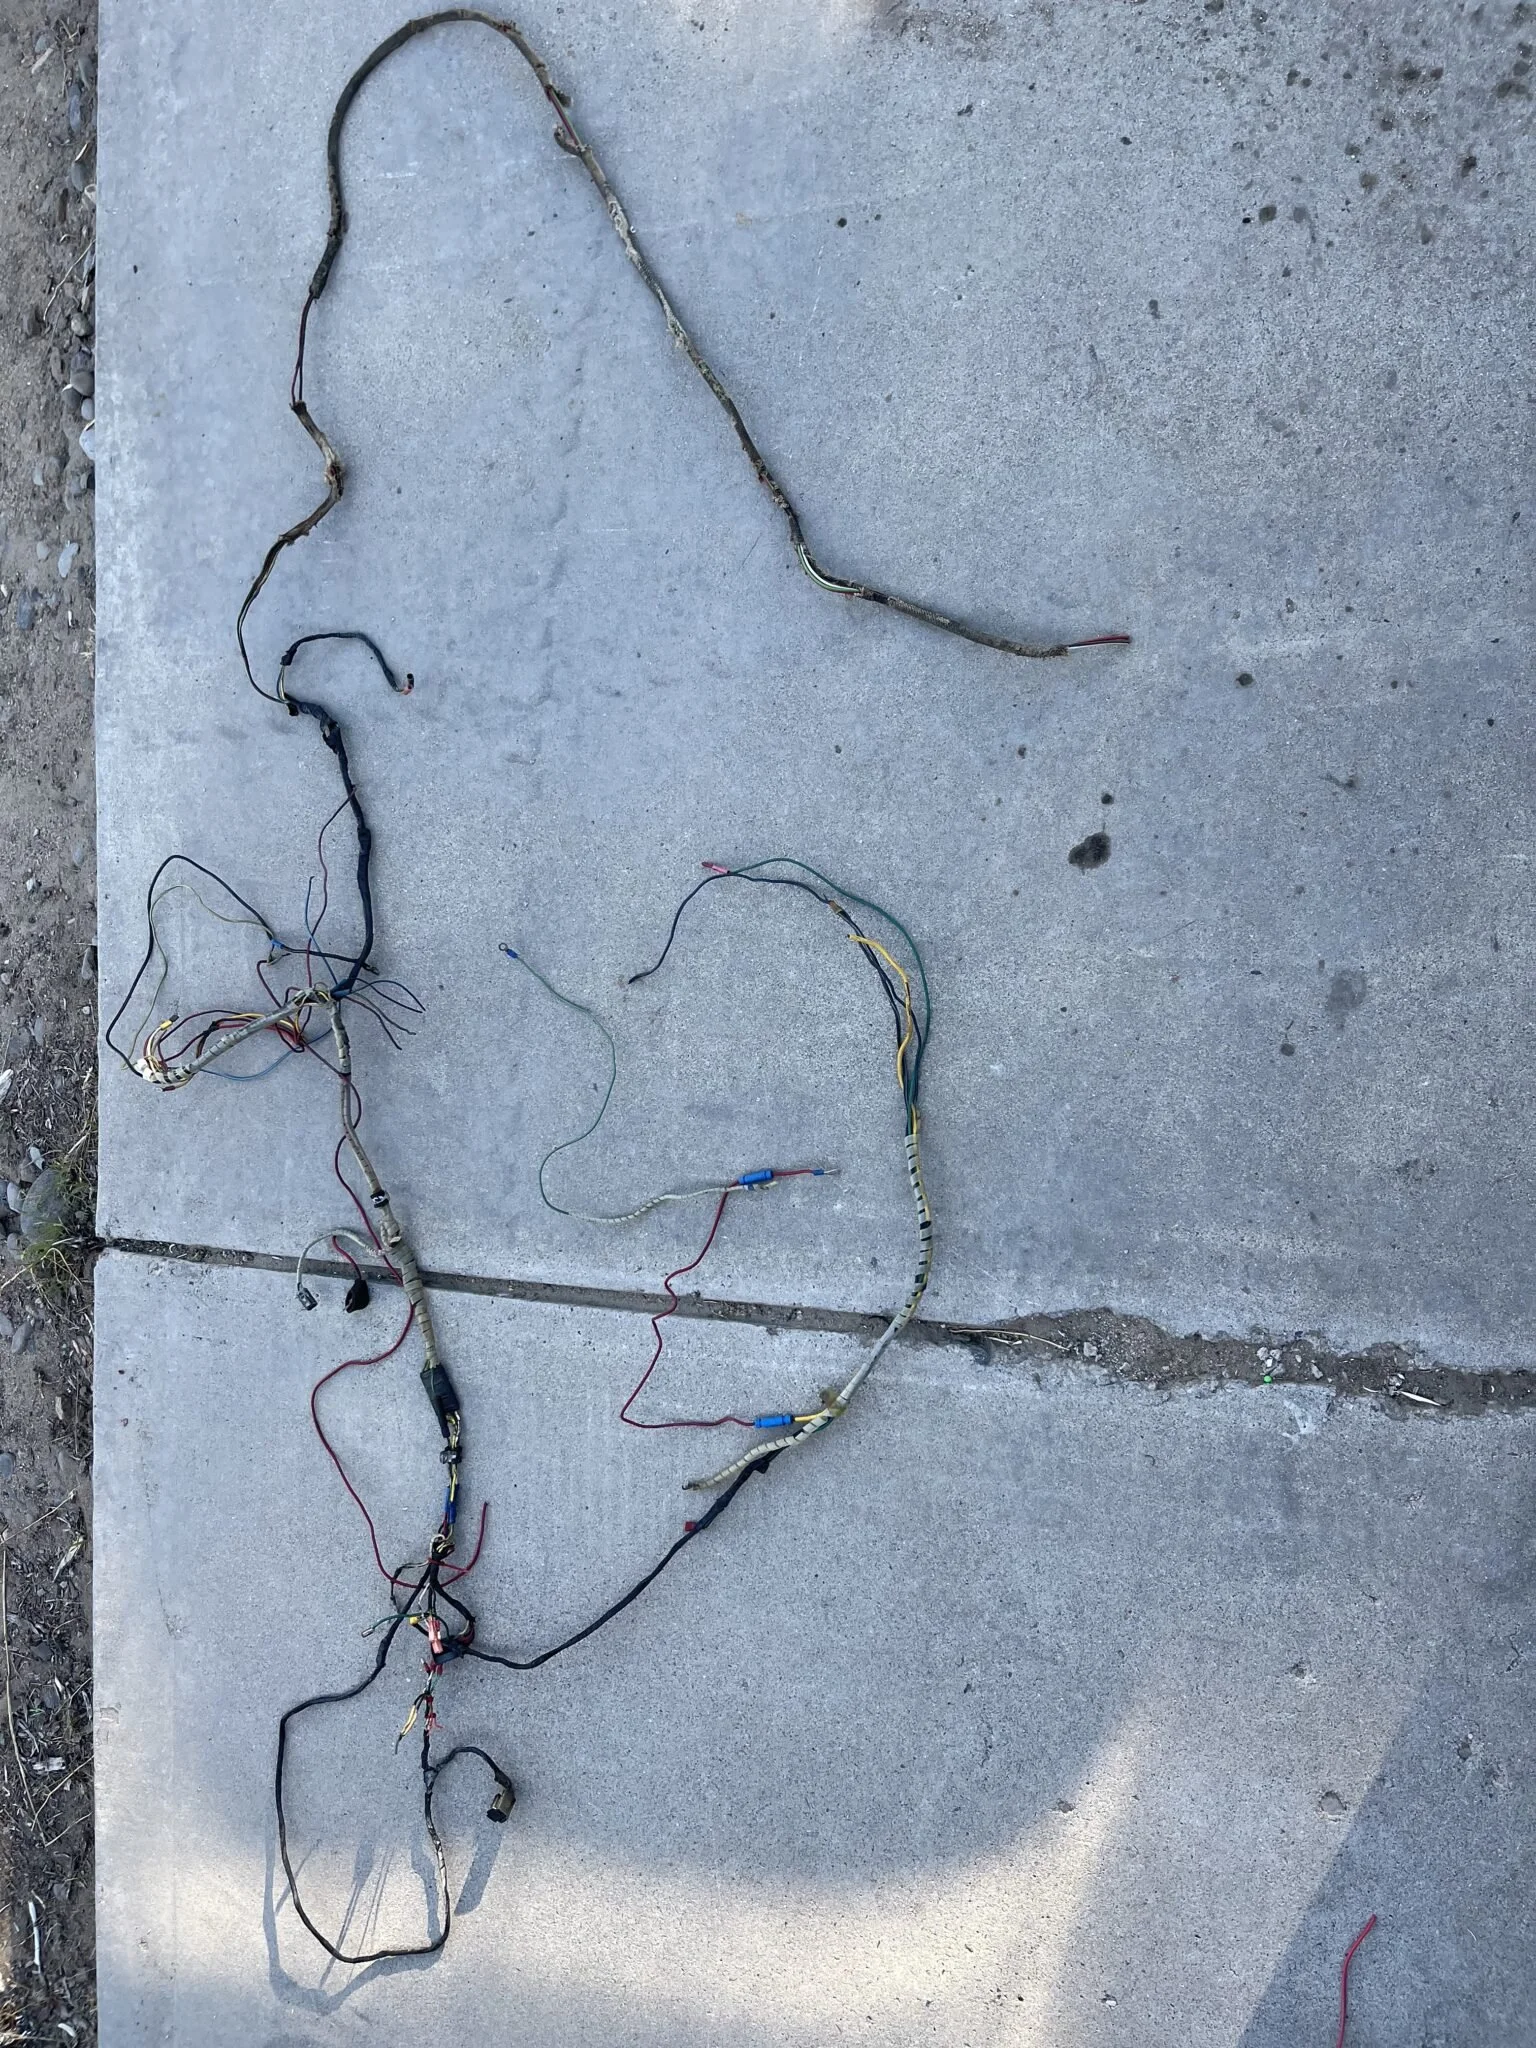
This was what was left of the old harness. Below you can see a close up of a place under the chassis where the wire bundle went around a corner and the cloth wire covering wore through.
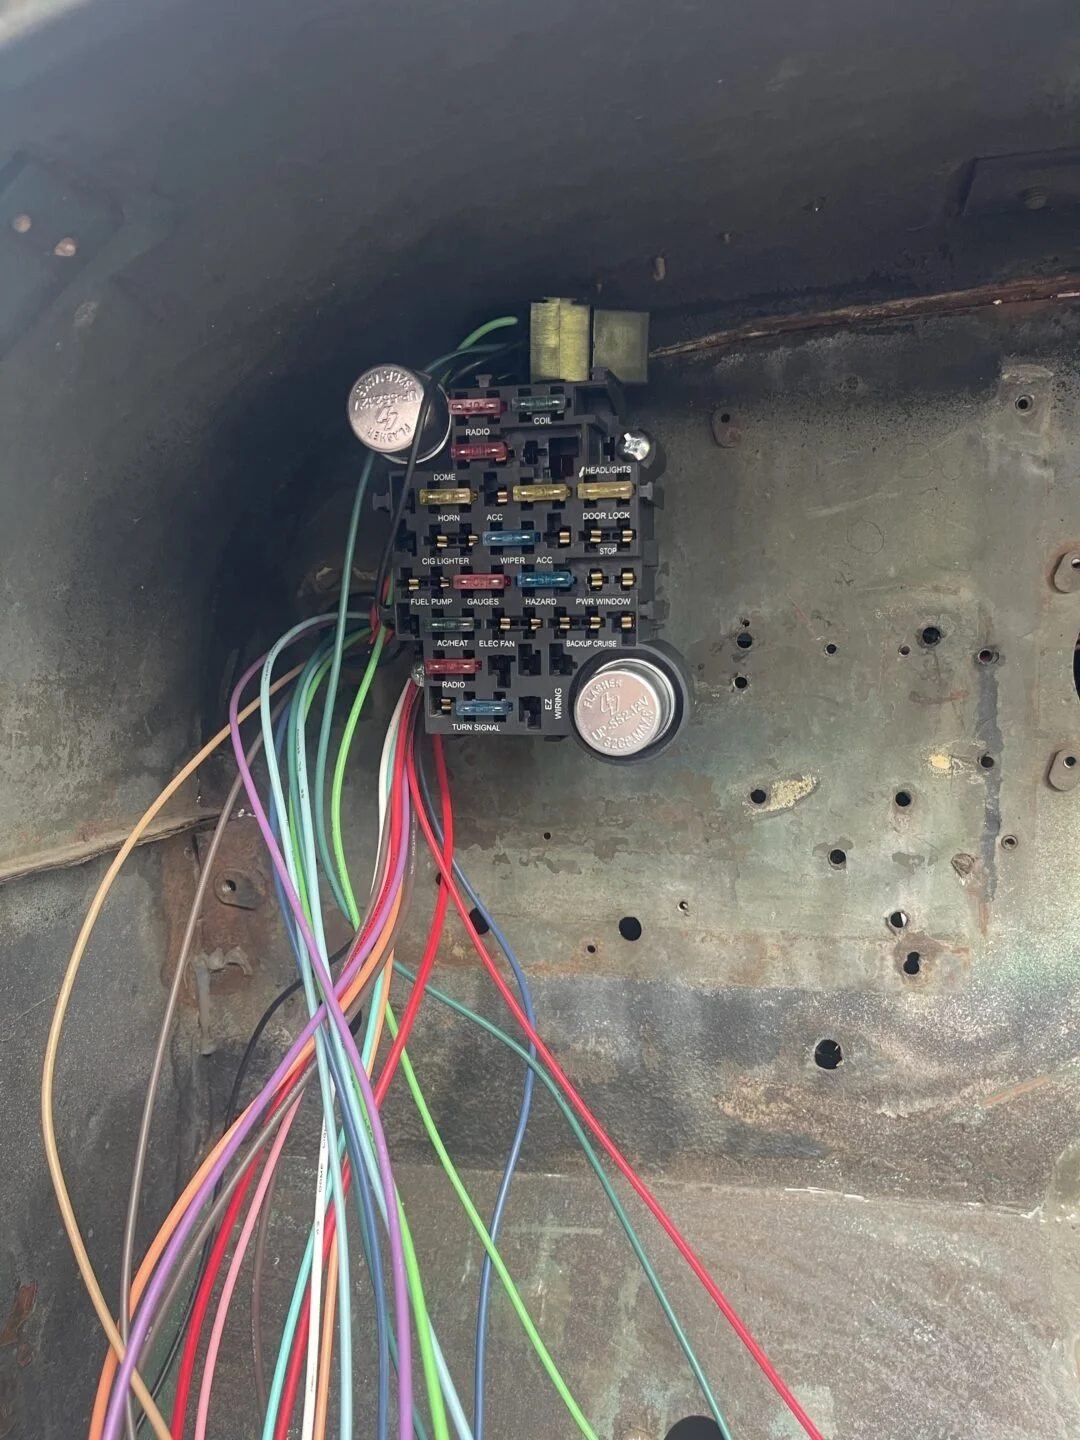
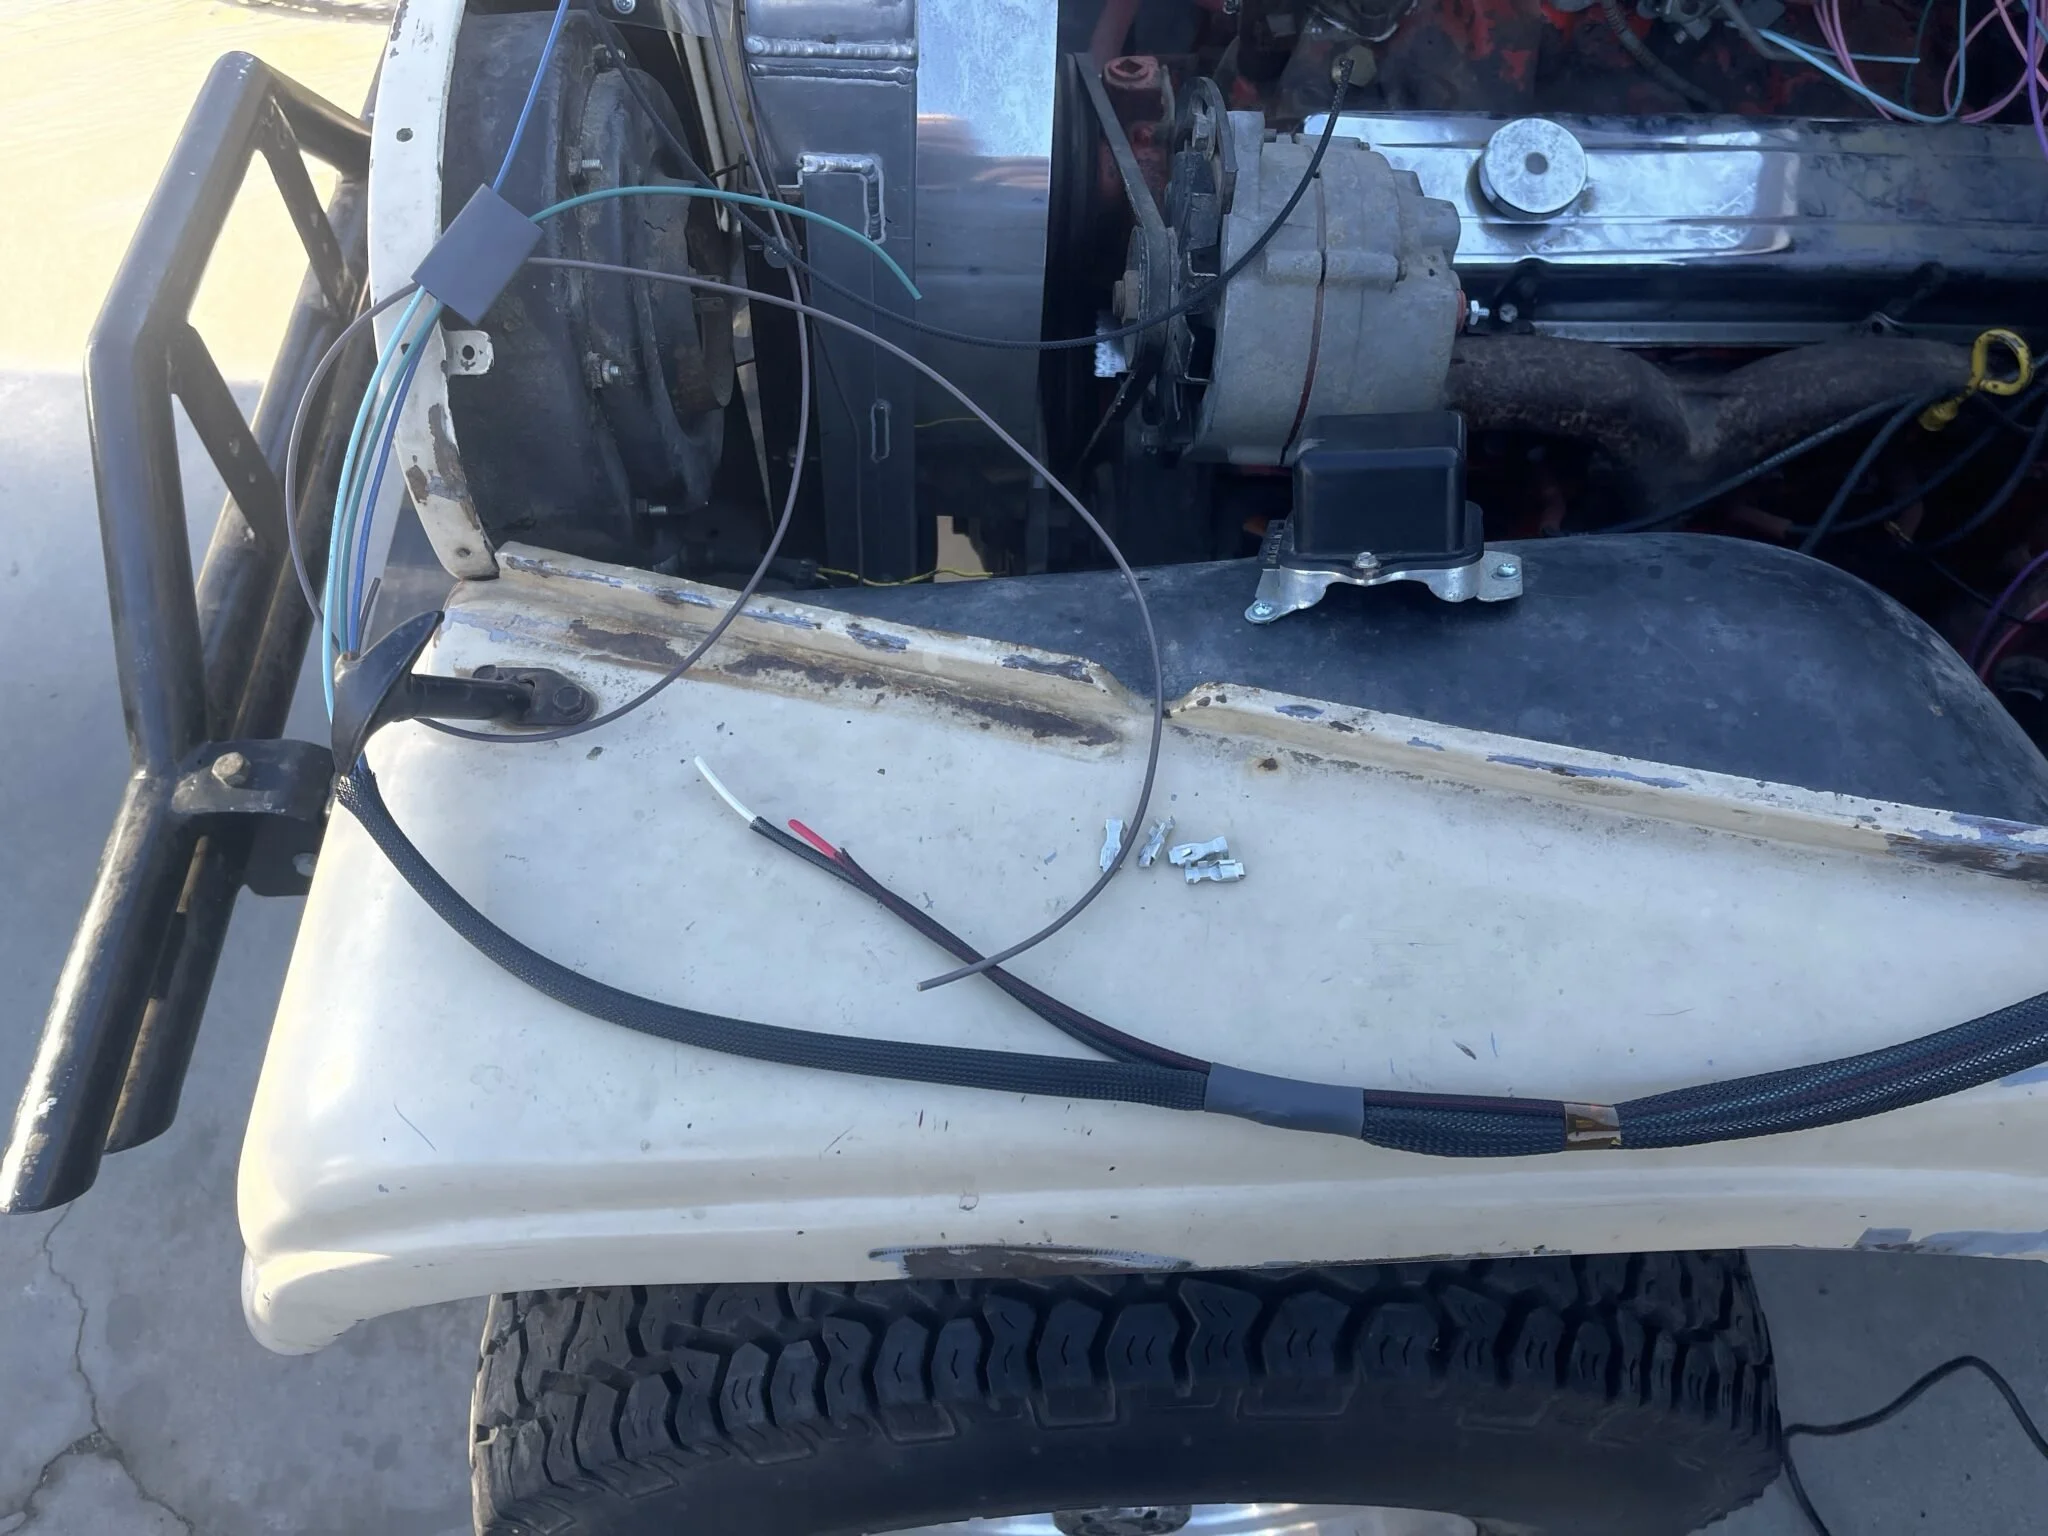
Wiring is one of those things that you really need to take your time and be patient. Make sure you have everything going the direction you want before you even cut or connect anything. Here you can see that I’ll starting by laying out the harness. Just taking wire that goes to the engine bay, the dash and the tail and set them roughly where they belong.
After you have things laid out where they need to be, check to be certain that everything is exactly where it need to be. Then double check it again. Once you start wrapping and shrink tubing goes on you don’t want to find your high beam wire in your tail section instead on the engine bay.
Now you can start finding the path you want the bundle to travel and how the individual wires can split away from the harness so they can be routed to induvial components.
Standard shrink tube is used to help hold the bundle together
I commonly use standard shrink tube to hold the bundles together. The amber tape towards the firewall side is Kapton tape. It insolates well but that’s not really what its doing here. I use it to hold the little plastic hairs from the loom down to make it easy to slide the shrink tube over. Additionally once the shrink tube is shrunk down to, it seems to stick to the Kapton tape adding to the strength of the bundle. Anther real benefit to Kapton is it never get gooey like electrical tape can
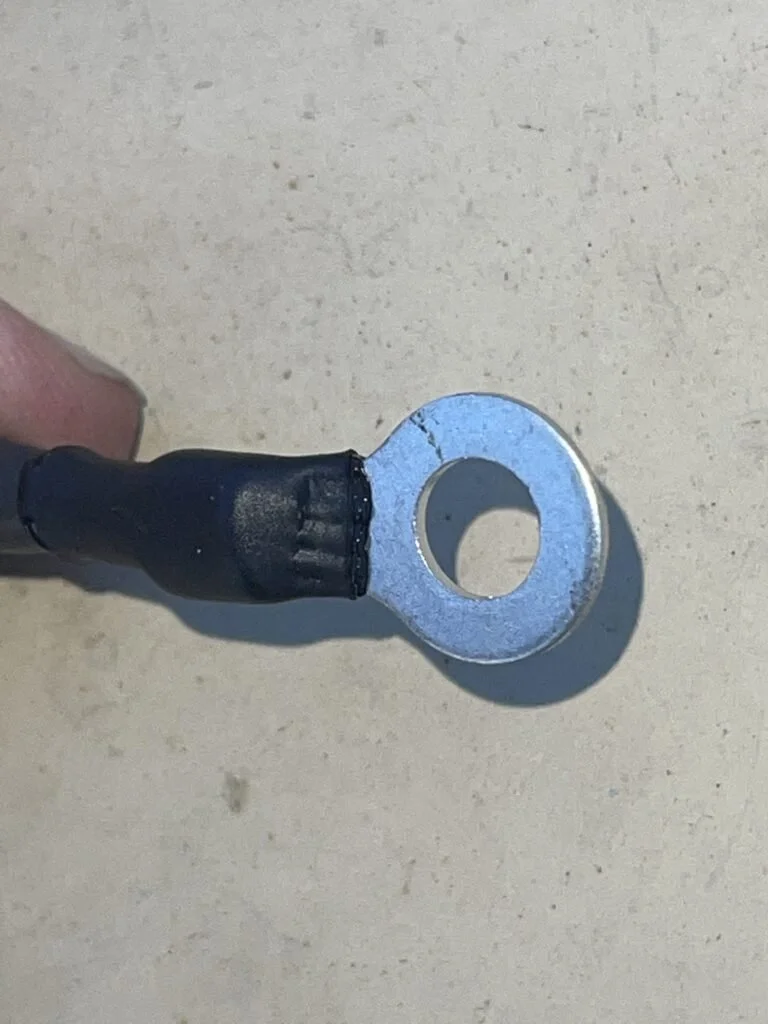
Alternator connection environmentally sealed with SCL shrink tube
I try to seal all connection and splices like this. I use a piece of SCL shrink tube, it has a potting material in inside that when heated oozes out into the part and seals it from the elements. This is the real trick to keeping connections good for many years.
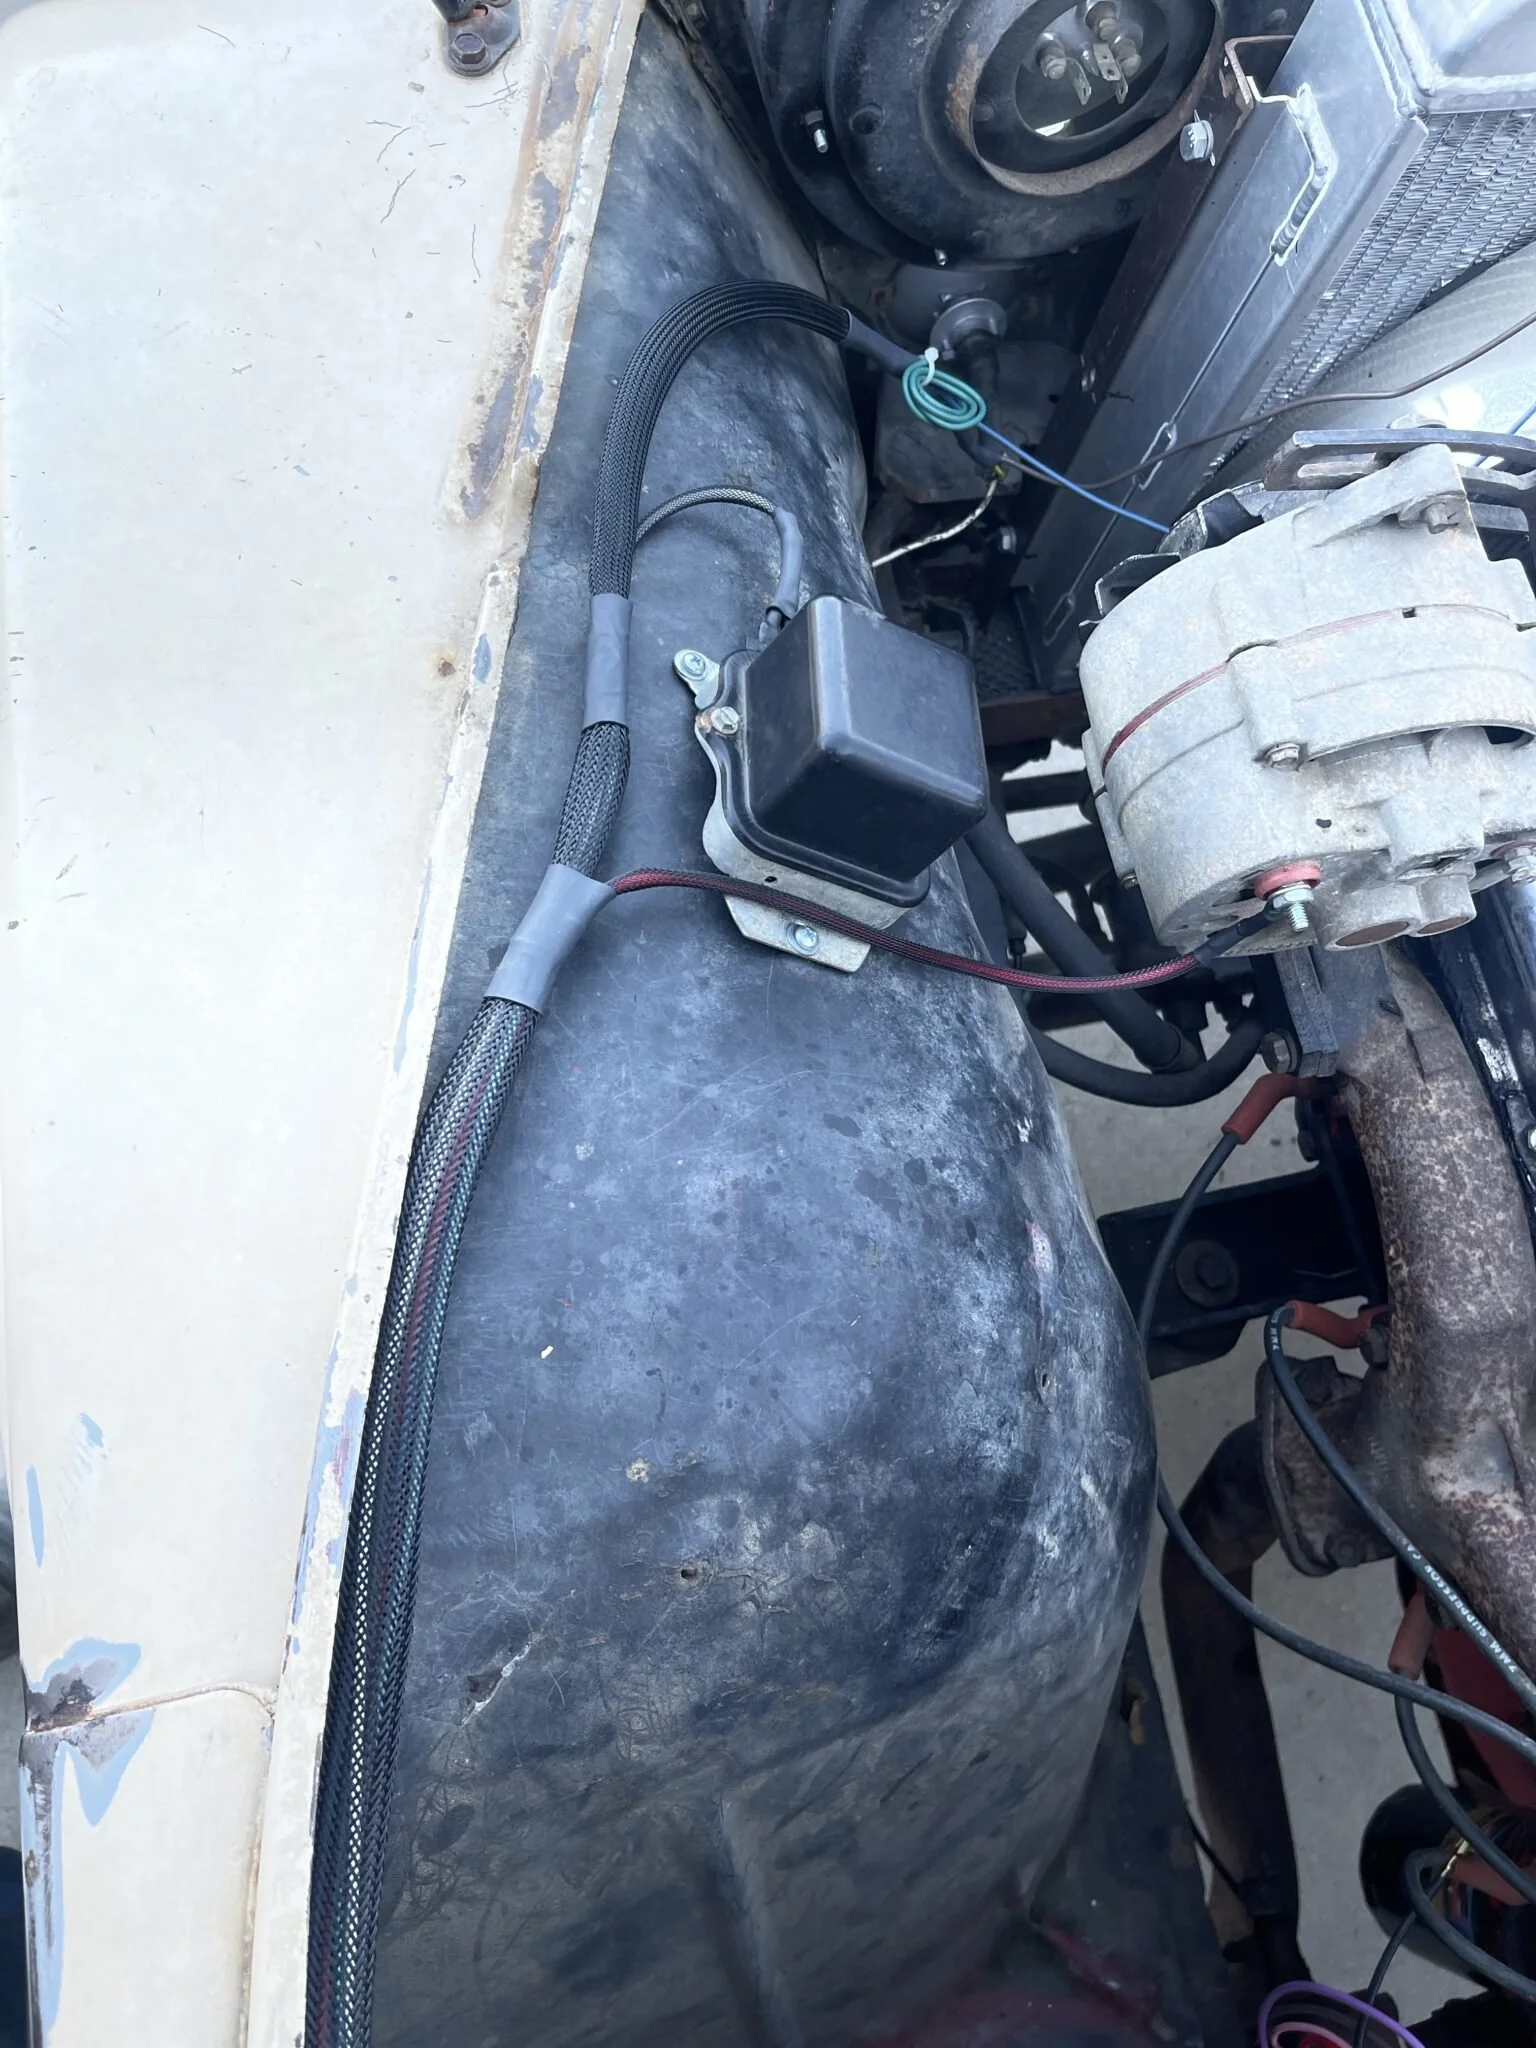
This is the bundle on the drives side that I have completed. I like to try and have the harness follow a path and hold it’s self in place as best as possible. That way later when it gets anchored down it will already be in a natural position and wont be stressed.
In the next update I will show more detail on splicing and how I make connections with brass crimps. Along with final testing!

